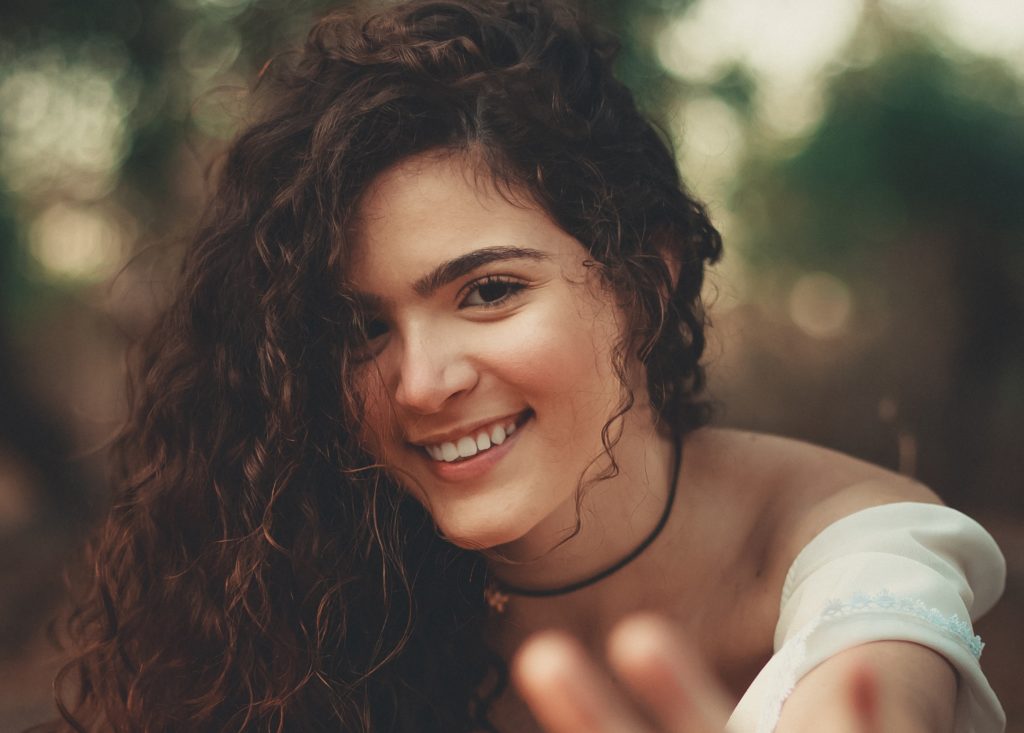
Today, we’re going to cover a topic I’ve been wanting to get to for a while: How to dye your own curly hair.
I died my hair twice now with the tips in the post, and I’ve had success each time.
The steps you’ll find in the post really could be applied dying any type of hair. But before we get to the process, we’re going to spend some time talking about how curls specifically respond to dye and how to select your dye in a Curly Girl friendly way.
Important note! If you decide to dye your own hair, you do so at your own risk. I’ve had success with the steps I’m about to share, but I am not a hair professional.
With that said, let’s take a look at how to dye your own curly hair!
Side note: This page does contain affiliate links, which means if you purchase something using the product links on this page, I may get a small commission. This comes at no extra cost to you and helps keep this site running. Thank you!
Going darker vs going lighter
Like I mentioned, I’m not a hair professional, but do a good amount of research before I undertake a task like this. In my research, I learned that going darker is different than going lighter.
Going darker is easier and less damaging to your hair. If you’re going darker, you’re simply depositing color. If you’re going lighter, you have to lift and deposit color. It’s also likely you’ll have to bleach your hair.
I got this info from this YouTube video by Morgan Berticevich, who is a licensed cosmetologist, on how to dye your hair at home.
I’ve always wanted to go darker, and I’d been thinking about it for a while. Then about a year ago, I finally decided to give it a shot.
Dyeing curls and sticking with the Curly Girl Method
Given that dyeing is often said to damage your hair, I was surprised to find an entire chapter devoted to dyeing in the Curly Girl Handbook.
According to the handbook, “curls and color do mix, especially with today’s available processes that can keep hair healthy looking.”
The book goes onto say that curls take color easily because the hair cuticle is more elevated. However, it can also take longer to recover from any damage because of the same reason.
When it comes to choosing dye, the Handbook says, “Colorists agree that semipermanent and demipermanent are the best choices for curly hair.”
Both of these dyes are designed to fade and wash out over time.
I chose a demipermanent dye, which is supposed to last a little longer than semipermanent.
Choosing your dye and supplies
When it comes to choosing your dye, I found two big takeaways to Morgan’s video. The first was not to use a box dye kit and instead get a tube of professional hair dye and a bottle of developer to mix together.
According to Morgan, the quality and results are much better.
The second takeaway is not to go too much darker (or lighter) in one shot. Morgan gives a good overview of hair color levels in her video.
Based on what she shares, I’d say my natural color is a level 4. Since I wanted to go darker, I ended up purchasing a level 5 color.
For the color, I bought:
Wella Color Charm Demi Permanent Hair Color in 5N Light Natural Brown
Wella Color Charm Activating Lotion (This is basically a 10 volume developer. I used 10 Volume since I’m depositing color only.)

I chose this brand because it has a 2:1 developer to dye ratio, while most brands are 1:1. This means my dye goes a little farther. My hair was longer the first time I dyed it (about mid-back), and I still only needed 1 tube of dye.

The other supplies I used were:
Gloves (not pictured)
You can get these items separately, or you can grab everything but the vaseline in a reasonably priced kit here on Amazon.
How to dye your hair
As I mentioned, I went darker, so that’s what the tips in the post are going to cover. If you’re going lighter, there’s a slightly different process.
I’ll mention the differences that I came across as they’re relevant, but I don’t have experience going lighter. So if that’s the direction you’re going in, you should definitely do more research.
Prep
Before you dye your own curly hair, you want to make sure your hair is in good condition to minimize any damage.
According to the Handbook, if you’ve been following the Curly Girl Method for a while and your hair is healthy and hydrated, you likely don’t have to do too much to prep.
If you’re newer to Curly Girl Method or don’t follow it at all, it’s a good idea to start conditioning your hair daily for a few weeks before you dye it.
From there, I’d also read that you want to wash your hair the night before to remove any product that might be a barrier between your hair and the color.
Because of this, I clarified my hair by rinsing it with one cup of water mixed with one tablespoon of baking soda. I didn’t use any conditioner or styling products after.
According to my research, the reason you want to do this the night before is because you want your hair clean, but you also want some oil to help the dye bond with your hair.
Section your hair into quadrants
To start the dyeing process, section your hair into four quadrants by parting your hair straight down the center from the forehead down to the base of the skull.
Then by parting your hair just behind one ear to just behind the other ear.
Clip each section to keep them separate.
Put Vaseline on your hairline, ears, and neck
Next, line vaseline along your hairline, ears, and neck. According to Morgan, this will help keep the dye from sticking to those areas and making it obvious that you just dyed your air.
I definitely found this helpful! But for what it’s worth, I managed to get some dye outside those areas and I didn’t find it difficult to get off.
I still recommend doing this, but I’d also say, don’t panic if it gets on your skin.
Mix your dye
Mix your dye per the directions.
It’s also a good idea to make sure you have plenty of time. It takes me about 45 minutes to an hour to get the dye in my hair, then it still has to process. Be sure you have time for this before you mix your dye.
Start at the top with a thin section of hair
Start with one of the top quadrants of your hair. Take a thin section–I’ll once again defer to Morgan who says you should be able to read through it. Mine probably weren’t quite that thin, but it gave me a good visual to aim for.

To go darker, start at the roots
Since I was going darker, it was okay to start at the root of the hair.
Hold the section you’re working on away from the rest of your head. Then take the brush and get in as close to the scalp as you can, coating the roots completely.
I would make sure I got both sides of the roots.
(If you’re going lighter, you want to start with the length of the hair first. This is because the heat from your head will make the roots process faster. If you’re going lighter, this will leave you with “hot roots.”)
Then work the dye into the length of the hair
Once the root area is done you want to work the dye into the length of the hair.
The more professional way to do this is by putting your hair against the palm of one hand, then use the other hand with the brush to paint the dye onto your hair and palm to fully saturate your hair with dye.
However, I found this took too long for me. So what I would do is dip my fingers in the dye and run them the length of my hair.
This was my own very non-professional technique, so use at your own risk, but I found it effective.
Whatever approach you choose, make sure your hair is fully saturated with color so you get even coverage.
Move hair out of the way by moving the hair diagonally backward, then move on to the next section.
Repeat
Repeat this process until the entire section is saturated with dye.
Then move on to the other top quadrant and repeat the entire process.
The back
You’ll use the same techniques you used for the front to get to the back.
Start at the top of one quadrant, take a thin slice of hair, saturate the root, then saturate the length of the hair.
Of course, this can be more difficult since you can’t really see what you’re doing.
The trick to getting the back is to lift your hair as much as you can, then follow your hair down to the root. Use the same technique to dye your roots.
Once the root is done, use the same technique you used on the length of the hair in the front for the back. Though once again, it’s easier to work with if you lift the hair up or out. If your hair is longer, you’ll likely be able to see what you’re doing for a portion of it.
Then, move the hair out of the way by draping it diagonally forward.
Move on to the next section of hair.
Repeat
Repeat this process until the entire quadrant is saturated with dye.
Then repeat everything again on the final quadrant.
Let the dye process
Once you’re finished, keep your hair clipped while the dye processes. The process time will be written on the packaging of your dye. For me it was 20 minutes.
Wash, deep condition, then style as usual
When the process time is up, jump in the shower to wash the dye out. It’s also a good idea to deep condition your hair to help it recover from the process.
My new favorite deep conditioner is the Flawless Deep Conditioning Masque.
After your shower, style your hair as usual.
Resources
I watched two really helpful video’s to prepare.
First, Morgan Berticevich’s Secrets from a Hairstylist, How to Dye Your Hair at Home Video. This has great information from a licensed cosmetologist. I used this video primarily for tips and information.
I also watched Brittany B.’s DIY 5N Demipermanent Hair Color, How to Dye Your Hair Chocolate Brown at Home. This video is helpful because you can actually see a full demo of someone dyeing their hair at home using demipermanent dye.
Like I mentioned, this is the second time I’ve done this and I’m very happy with the outcome!
However, there is one thing I’ll note. Demipermanent dye is supposed to about 28 washes. I found it never really washed out of my hair. It definitely faded, and there was no hard root line. But even when I dyed it the second time (about ten months after the first time) there was still dye in my hair.
I think this might be because the Curly Girl Method is so gentle and focused on conditioning that it helps preserve the color, but that’s just a personal theory.
With that said, I still love the demipermanent dye, and I’ll likely use it the next time. However if you want a more temporary color, you may want to lean towards a semipermanent dye.

Looking for more guidance on your curly hair journey?
For beginners
If you’re new to curly hair care and looking for some help, you should check out the No-Stress Guide to Curly Hair Care!
After spending two years learning and caring for my curly hair, I wanted to create my own, in-depth guide to help fellow curlies create incredible curls in the easiest way possible.
It took me a while, but I eventually found an approach that helped me create a curly hair routine that fits into my life in the simplest way possible. And now I want to help you do the same!

For more intermediate/advanced guidance
If you’ve been on your curly hair journey for a while but still have some struggles, check out Curly Hair Problems!
After spending hours scouring the internet looking for solutions to my own curly hair problems, I found myself wishing for an easier, more comprehensive guide to the most common problems.
So that’s what I created!
Curly Hair Problems offers you 78 total solutions to the five most common curly hair care problems, including frizz, curl clumps, limp curls, product issues, and scalp issues.

Sound off: Have you tried to dye your own curly hair? Tell us about your experience! Be sure to tell us a little about your hair type too!