

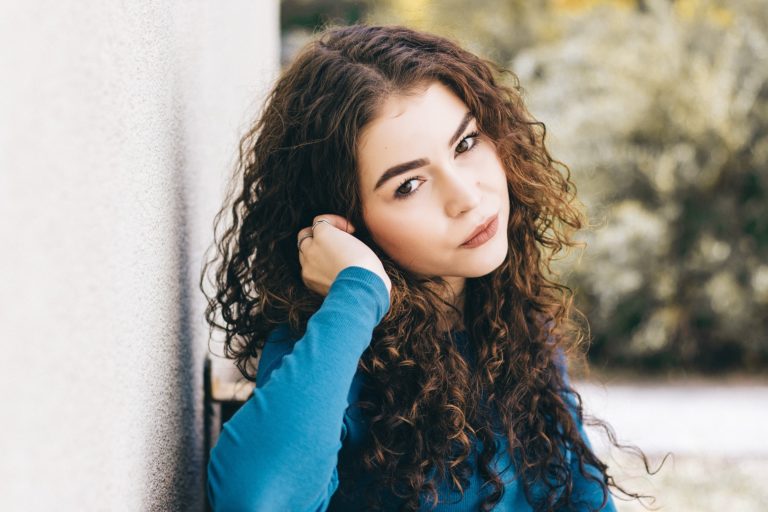
How to Get Root Volume with Curly Hair | The Curly Girl Method

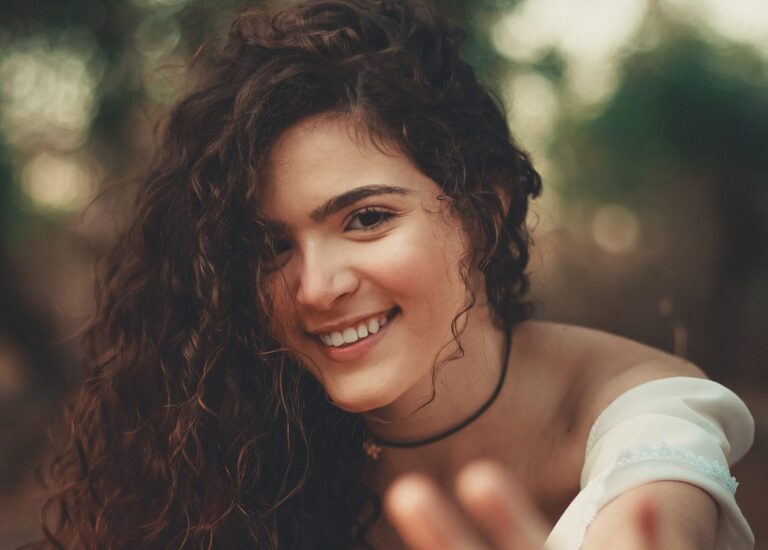
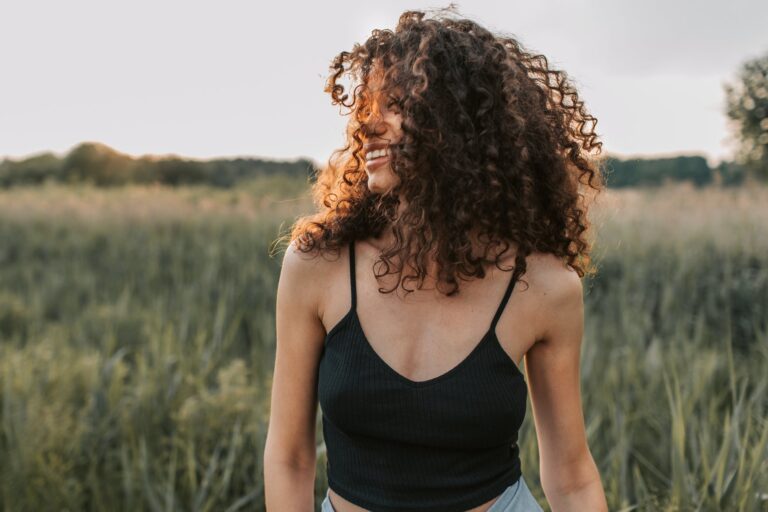
If you have curly hair, you likely know the struggles of adding volume to the top of your hair.
Most of the time, if I don’t do something to help my roots dry lifted, my hair ends up drying flat against my scalp and looking seriously weighed down. (Perhaps you know the feeling?)
I found this to be particularly true when I was at the start of the curly girl method and needed a lot of product to help restore my dry and damaged hair.
The extra product did make my hair soft and hydrated, but it also added weight and pulled my hair toward the ground.
This made root volume even harder to come by.
So if you’re like me, and find that your hair needs a little help getting some volume up top, this post his for you!
Here are six ways to add root volume to your curly hair.
This page does contain affiliate links, which means if you purchase something using the product links on this page, I may get a small commission. This comes at no extra cost to you and helps keep this site running. Thank you!
Clipping
This is the main technique you’ll find in The Curly Girl Handbook, and because of that, it’s become pretty popular.
The technique itself is pretty simple. You use small, inexpensive metal clips to hold your roots upright while your hair dries.
The goal is to gently lift your hair and place the clip as close to the root as you can (without pulling your hair to the point of discomfort).
When your hair (or at least, your roots) are dry, you can remove the clips.
You can air dry or diffuse with your hair clipped.
Be very gentle when you remove the clips.
Hair swells when it dries, so your hair may be a little bit tighter, or a little big more tangled around the clips, than it was when it was wet.
Personally, this isn’t my favorite way to get root volume largely because of the time it takes to put the clips in and take them out. Not that it’s a ton of time, but more than I’d like to take.
Pinned up
A simpler way to give the top of your hair some root volume is to take some bobbie pins and pin your hair so there’s a little bit of a bump at the top.
This will have a similar effect to clipping.
I found this technique thanks to YouTuber Curly Susie. She demos it for you here.
I like the simplicity of this technique a lot.
The only downside I’ve found is that the pins sometimes flatten or put an odd kink in the curl that was pinned.
Susie doesn’t seem to have a problem with this, so this may just be a me problem, but as a result, I modified this technique into the following option.
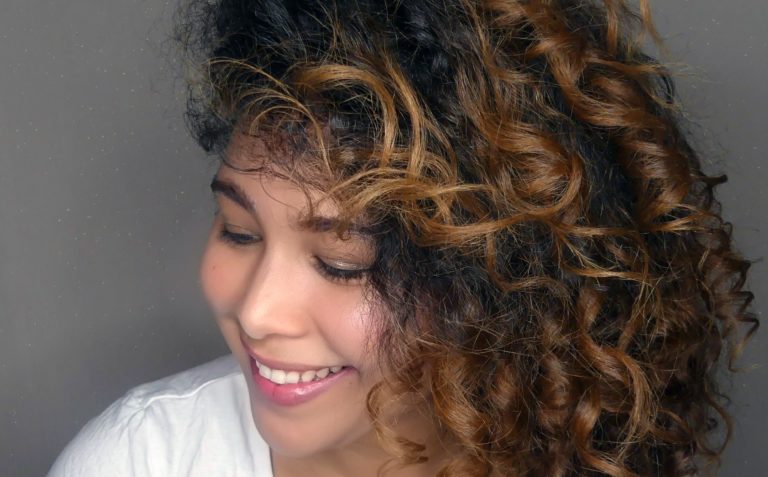
Big Claw Clip
Instead of using a bobbie pin or small clip to lift my hair (which seems to squash or interfere with my curls), I found it incredibly effective to use a large claw clip at the crown of my head.
To use this method, tip your head backward so all of your hair falls back in one direction.
Then gather the very top layer between your fingers and lift it so there’s a little bump (similar to how you would if you were pinning with bobbie pins).
Now, take your large claw clip and clip it at the crown of your head.
You don’t want the whole clip to be full, you just want enough hair so that the clip is secure.
Your hair shouldn’t be too crowded or squashed.
I typically leave the clip in until my hair is about 50% dry.
I find this technique to be my favorite because it takes seconds, it keeps my top layer lifted, and holds hair loose enough that nothing interferes with my hair’s natural curl pattern.
You can find these clips here!

Flip your hair
You can also try avoiding clipping entirely and gently flip your hair from side to side every fifteen minutes or so while your hair dries.
This prevents your hair from drying in one position, which creates the volume.
If you give this a shot, be sure to be gentle with your flips. If you use your fingers to guide your hair, be sure to do so at the roots.
Personally, I’ve found this approach creates the most frizz, but this is another one a lot of people have success with, so it may be just me!
Diffusing
Diffusing is also a great way to add volume to your curly hair! The approach is by far the most time-consuming. (If you’re a frequent reader, you know I almost never diffuse for this specific reason.)
However, it can also be the most effective.
To diffuse, first make sure your blow dryer is set to a low or medium setting for both heat and speed. Make sure you have a diffuser attachment, like this one, hooked up to your blow dryer.
Or you can use a diffuser only tool like this Bed Head diffuser dryer, which is what I typically use on those rare occasions.
To get root volume when you diffuse, make sure your hair is flipped upside down or to the side.
This will keep your roots standing up while they dry, which is what gives you that volume.
Layer your hair
Get yourself a hair cut that that encourages volume. Adding layers is one of (if not the) best way to do this.
If your hair is layered, that means the overall length may be longer, but there are shorter sections throughout your hair, with the crown or top layer being the shortest.
This makes your hair lighter as a whole, but especially the top layer. That short top layer will be your lightest, which will make it easier for your curls to spring back and create some volume around the top of your hair.
Side part
Parting your hair on the side gives can give your hair some added volume on top.
This is a great way to ensure that your hair has at least a little bit of lift every day.
It also works great when it’s combined with some of the other techniques in the post.
And if you’re having a bad volume day, parting your hair even more off-center than usual is a good way to fake some extra volume if you need it.

Looking for more guidance on your curly hair journey?
For beginners
If you’re new to curly hair care and looking for some help, you should check out the No-Stress Guide to Curly Hair Care!
After spending two years learning and caring for my curly hair, I wanted to create my own, in-depth guide to help fellow curlies create incredible curls in the easiest way possible.
It took me a while, but I eventually found an approach that helped me create a curly hair routine that fits into my life in the simplest way possible. And now I want to help you do the same!

For more intermediate/advanced guidance
If you’ve been on your curly hair journey for a while but still have some struggles, check out Curly Hair Problems!
After spending hours scouring the internet looking for solutions to my own curly hair problems, I found myself wishing for an easier, more comprehensive guide to the most common problems.
So that’s what I created!
Curly Hair Problems offers you 78 total solutions to the five most common curly hair care problems, including frizz, curl clumps, limp curls, product issues, and scalp issues.

Sound off: What helps you get root volume? Tell us about it in the comments! And be sure to tell us a little about your hair type too!

Great idea! I will have to try the big claw clip. I like simple and quick.
Awesome! I hope it helps you as much as it helps me!
How short is your top layer to work best?
That will ultimately vary from person to person based on your hair type. For me, I typically try to get my top layer to fall around the top of my ear when I part it to the side.
I love your big claw clip idea…I’m going to try this!
Awesome! I hope it helps! 🙂
Great ideas…do you use any root volumnizing gel ??
I don’t. My scalp is pretty sensitive to product build-up so I try to avoid putting anything too close to the roots.
I’m so happy I read your blog! I’m growing my curly hair longee and I had no idea how to get the volume I like on top. Thanks so much for all the great advice!
I’m so glad I could help! Thanks for coming by! 🙂
Great advice! Your popup says “Want to know how I concurred the Curly Girl method?” Took me forever to realize you meant “conquered.”
Yeah, I type fast and typos happen sometimes.🤷♀️ Thanks for letting me know!